Showing posts with label Baking. Show all posts

Friday, April 10, 2009

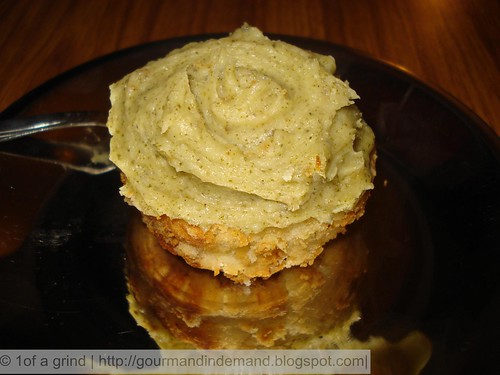
Almond Green Tea Cupcakes from Baked

As I had mentioned in my last post, I bought two new books one of them being "Baked: New Frontiers in baking"

I was dying to try out something from that book and here I am! I made the almond and green tea cupcakes (page 76)

I always feel that baking cakes/cupcakes is something you should save for when you have a crowd. It's fun when you can watch other people enjoy what you have cooked. So I got the perfect chance. I catered :P for my mothers tea party. Well a party would be an exaggeration, it was more like a little gossip over tea.

Anyways I made the cupcakes and OMG they were fab!

DSC03046

I followed the recipe to the tee and its a good thing I did.

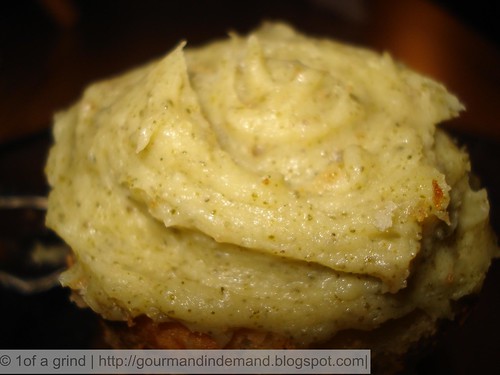
The frosting was a dream.. green tea powder made like a pastry cream first and then ends up as butter cream frosting.. the guests were guessing what went in it.. 'pistachios' is where the guessing stopped.

DSC03038


Lets zoom in to see the frosting... mmmm

I still have a bit of the frosting in my refrigerator and I have discovered the pleasures of licking bits of it off my fingers.

Saturday, February 28, 2009

Daring Bakers Challenge: Chocolate Valentino, flourless chocolate cake

This is my second challenge although it should have been my fourth :( I could not do the previous two cause I had NO time.. but i made sure I had time for this one! it was soooo simple! and really good!

I made just the cake.. it was too sweet and was perfect by itself.

The February Challenge comes from Wendy at wmpesblog (Arizona) and Dharm at Dad - Baker and Chef (Malaysia).


It called for just three ingredients:

-chocolate
-eggs
-butter

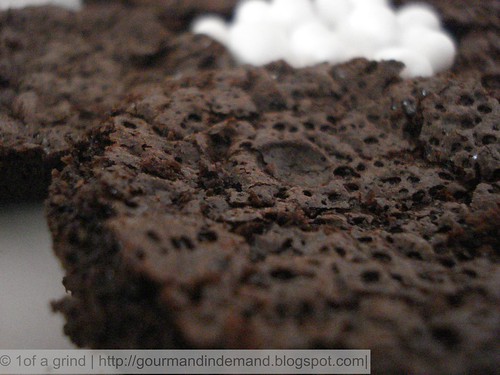
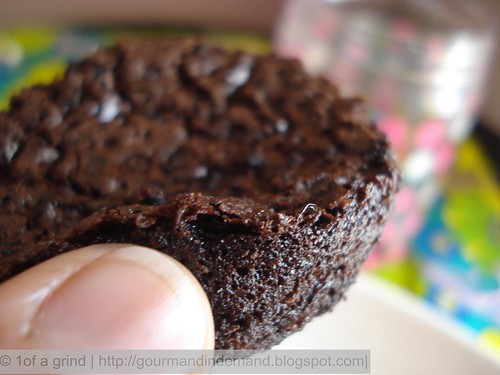
Surprisingly it did look like a cake..more like a really rich brownie.
I made them in muffin tins and that too didn't fill up the tin too much.


DSC03488

Gooey and dense just like a brownie


DSC03517

Yet soft and spongy like a cake!

I really enjoyed making these :D Thanks again DBers!

Monday, February 16, 2009

GUEST BLOGGER

My sister is always surprising me with her wonderful desserts, actually, I get a preview when tantalizing smells emanate from the kitchen (also because of the sounds of the rebuke she gets from mommy for disrupting her kitchen!) so its not really a surprise, but I always anticipate the finished product. This little item which she conjured (and i say conjured because she made it in 20 minutes with scraps for ingredients!) was quick to make and QUICKER to finish. the biscuit base had some oats, walnut powder, butter and some other items (I only recall the crunching sounds which were made by this crisp, light (?) and taste bud pleasuring base)...oh ya! it had everything but biscuits!!
but what really got me going was the gooey from the inside and crisp from the outside filling which was made from butter, chocolate (er....this chocolate was the remnants of a big slab...it actually had some of my teeth imprints on it), coco powder to intensify the flavour (laa dee dah!), and an egg, yolk first followed by the white (i dont get why they are separated to eventually meet!) anyway, all this was put into the oven and baked for sometime (which felt like eternity people!) and, excuse the cliche, VOILA..... sintitilating chocolate tarty-thingie (hey i just do the eating!)
wanna know more about this sweet tooth's narcotic? ask the chef....I'm just a junkie.


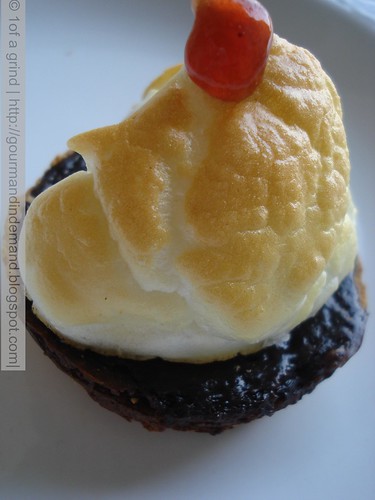
DSC03629

Friday, January 16, 2009

Organic, vegan, low fat, paper thin PIZZA!

I hope you die hard sloppy-joe lovers don't hate me for desecrating the full fat, soft, cheesy, deep pan pizza.

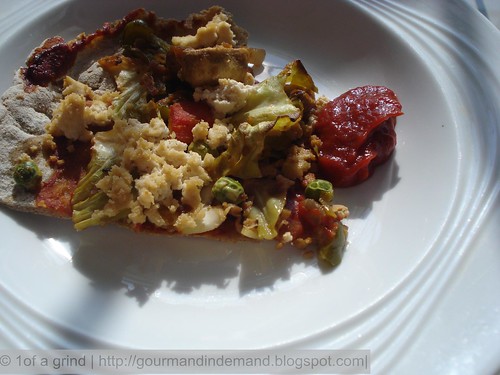
All my experiments generally start with a craving and this time it was pizza. I created something that is remotely close to a pizza as we know it but is still technically a pizza.

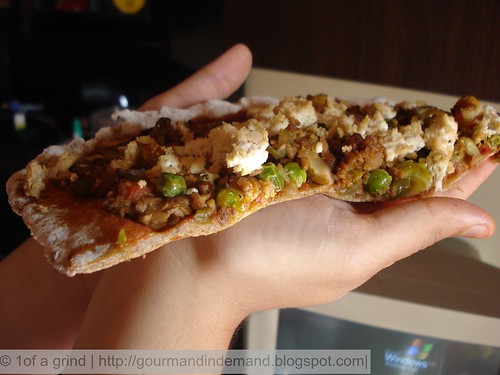
It was delicious in an organic, vegan, low fat way and it was a fun eat.

DSC02855

What you need: (for two large pizzas)

(For the base)
2 cups wholewheat/ grain flour
5 gm fresh yeast
1 tsp EVOO
salt
water

(For the topping)
1 cup grated firm tofu (buy it or make you own)
¼ cup shredded cabbage
¼ cup sliced mushroom
2 tbs peas
¼ cup chopped bell pepper
1 red onion finely chopped
2 flakes finely garlic chopped
1 green chilli chopped
EVOO to saute
Oregano and salt to taste

(For the sauce)
2 tbs barbeque sauce
¼ cup tomato ketchup
¼ cup tomato puree/paste
fresh basil leaves, torn
2 tbs water

What to do:

(Base)
1. Mix all ingredients for the base and work into smooth dough. Leave to rise in a drought free place.

(Topping)
2. Heat evoo in a wok. Stir fry vegetables starting with garlic, chillies and onions then adding the rest (except for the tofu). Add salt and oregano as per taste. Stir fry for only about a minute.

(Sauce)
3. In the same wok add the ingredients for the sauce and simmer for a minute.

(Assemble)
4. Punch out the risen dough and roll out till paper thin. Top with sauce, then vegetables and sprinkle the grated tofu all over. Bake in a 180°C preheated oven for 20 minutes then reduce heat to 100°C and bake for 20 minutes more till the base is crisp.

DSC02858

Saturday, January 10, 2009

Homemade Strawberry and Plum Pop-tarts

Shaheen @ The purple foodie made these wonderful strawberry pop-tarts a couple of days back and I just had to make them! Unfortunately for me, I had no strawberry jam, but I did have some plum preserve which  used as a substitute.

It was a real winner!! perfect perfect! the other big change I made was use whole flour instead of plain flour.


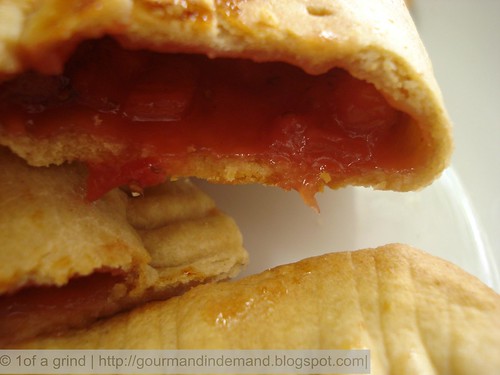
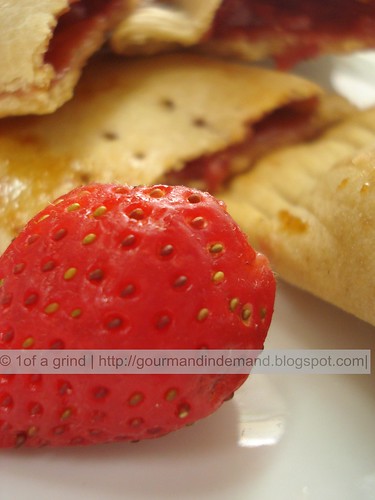
poptart1

mmmmm


I had a bit of an oozing problem though... the filling just kept oozing out.. but thats OK.. just took a while to clean up my baking sheet :P 


poptart2

I love the Strawberry :D


Thanks for sharing this one Shaheen :)

Friday, January 9, 2009

Reduced fat apple filled bread

I concocted this one. The thing was that I wanted to make something like an apple pie or a tart but I had just bought some fresh yeast that I didn't want to waste and I also wanted to avoid all the calories that go into a tart!

So I settled for apple filled bread.

What you need:

2 med sized dessert apples
2 cups of wholewheat flour
2 sticks of cinnamon
¾ cup sugar/ sugar substitute as per taste(if using sugar substitute, add 1/4 cup water along with it)
a squeeze of fresh lemon juice
10 gm of fresh yeast
1 tbs butter
1/4 tsp salt
Water for kneading.

What to do:

(For the filling)
1. Peel, core and finely chop the apples. Place on low in a heavy saucepan add 3/4 of the sugar/ substitute, cinnamon and simmer for 15-20 minutes till mixture is thick and sauce like. Add half the butter into the slightly cooled sauce.

(For the bread)
2. Mash the yeast in water and combine it with the flour, salt; remaining sugar and butter. While adding plenty of water, work with dough for 15 minutes till elastic. Keep aside in a drought free place to rise for 40 minutes.

3. After the dough is double its size, punch it and work for another 10 minutes.

4. On a floured surface roll out the dough to a 1/4 inch thickness and cut edges of dough to make a rectangle. Cut smaller rectangles from the same.

5. Preheat the oven to 100C. Place a spoonful of the apple filling at the base of each rectangle. Roll and seal edges. Let it rise for another 15 minutes.

6. Bake for an hour till browned outside and soft inside.


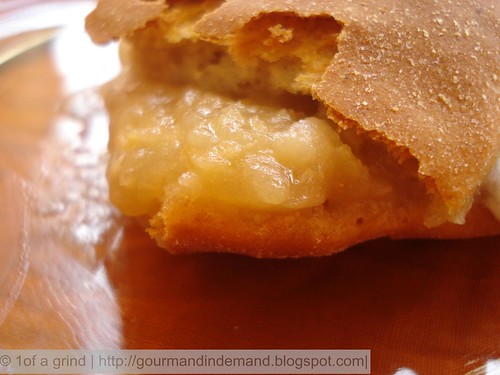
DSC02777

Tuesday, December 16, 2008

Wholemeal English Muffins

I always look out for something interesting to make for breakfast because there are such limited nutritious breakfast choices. At my place It's generally eggs or cereal and it can really get monotonous for me.

These Wholemeal English Muffins (I pointed out the differences between the British name and the American name in my last post) are just so easy to make and can be eating with anything you want. I made these all the more nutritious by using a blend of soy, oat, barely and whole grain wheat flour another one of my concoctions.

What you need: (Makes 4 small sized muffins)

1 cup of wholegrain flour/ or you can experiment with different flours like I did.
5 gm fast-action dried yeast
A pinch of sugar
Salt to taste
water to bind

What to do:

1. Prepare yeast with warm water and sugar.
2. Mix flour with salt and place in a mixing bowl and make a well in the center. Add the fermented yeast and knead. Add water as per requirement.
3. Keep aside for an hour in a dry place.
4. When doubled in size punch back and form four balls with them and leave aside for another 30
5. A little trick that I use: I microwave the ball shaped dough for 1 minute on 60% power instead of waiting for them to rise again. It's a smart thing to do, it saves you time and you can be certain that you wont have partially uncooked muffins.
6. Heat a griddle with some pan spray or just a hint of olive oil and cook on both sides, covered; for about 7 minutes till well done. Do not let the griddle get too hot or the muffins will burn from the outside while remaining raw from the inside.
7. Cut in the center and serve with anything you like.


So how do you like them?

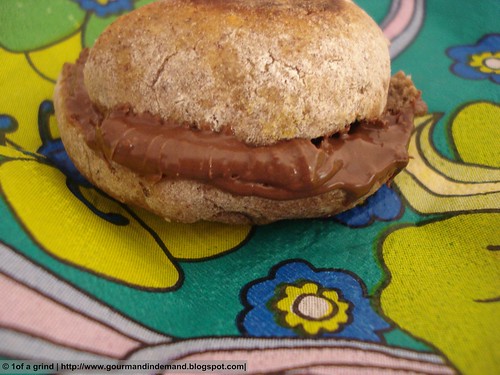
Sweet: (Nutella filling)
Sweet Eng Muffin

or

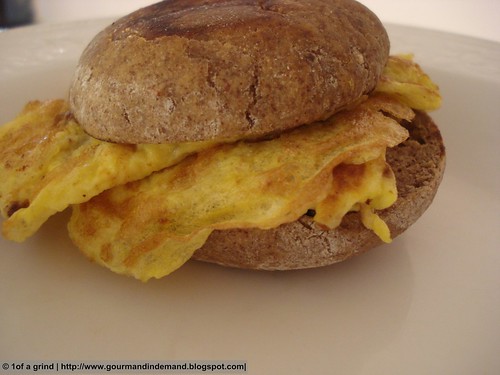
Salty: (omelet filling)
Salty eng muffin

Saturday, November 29, 2008

My first Daring Bakers Challenge!

WOW! this was such an exciting day.. My first ever Daring Bakers challenge!!
We had to make a lovely Caramel Cake witha very unique caramelized butter frosting that Shuna Fish Lydon posted on Bay area bites. And by the way she has a brilliant blog too.

I loved it so much, I made it TWICE.

My first cake was just as the recipe called for..

CARAMEL CAKE WITH CARAMELIZED BUTTER FROSTING

10 Tablespoons unsalted butter at room temperature
1 1/4 Cups granulated sugar
1/2 teaspoon kosher salt
1/3 Cup Caramel Syrup (see recipe below)
2 each eggs, at room temperature
splash vanilla extract
2 Cups all-purpose flour
1/2 teaspoon baking powder
1 cup milk, at room temperature

1.Preheat oven to 350F

2.Butter one tall (2 – 2.5 inch deep) 9-inch cake pan.

3.In the bowl of a stand mixer fitted with a paddle attachment, cream butter until smooth. Add sugar and salt & cream until light and fluffy.

4.Slowly pour room temperature caramel syrup into bowl. Scrape down bowl and increase speed. Add eggs/vanilla extract a little at a time, mixing well after each addition. Scrape down bowl again, beat mixture until light and uniform.

5.Sift flour and baking powder.

6.Turn mixer to lowest speed, and add one third of the dry ingredients. When incorporated, add half of the milk, a little at a time. Add another third of the dry ingredients, then the other half of the milk and finish with the dry ingredients. {This is called the dry, wet, dry, wet, dry method in cake making. It is often employed when there is a high proportion of liquid in the batter.}

7.Take off mixer and by hand, use a spatula to do a few last folds, making sure batter is uniform. Turn batter into prepared cake pan.

8.Place cake pan on cookie sheet or 1/2 sheet pan. Set first timer for 30 minutes, rotate pan and set timer for another 15-20 minutes. Your own oven will set the pace. Bake until sides pull away from the pan and skewer inserted in middle comes out clean. Cool cake completely before icing it.

9.Cake will keep for three days outside of the refrigerator.

CARAMEL SYRUP

2 cups sugar
1/2 cup water
1 cup water (for "stopping" the caramelization process)

1.In a small stainless steel saucepan, with tall sides, mix water and sugar until mixture feels like wet sand. Brush down any stray sugar crystals with wet pastry brush. Turn on heat to highest flame. Cook until smoking slightly: dark amber.

2.When color is achieved, very carefully pour in one cup of water. Caramel will jump and sputter about! It is very dangerous, so have long sleeves on and be prepared to step back.

3.Whisk over medium heat until it has reduced slightly and feels sticky between two fingers. {Obviously wait for it to cool on a spoon before touching it.}

Note: For safety reasons, have ready a bowl of ice water to plunge your hands into if any caramel should land on your skin.

CARAMELIZED BUTTER FROSTING

12 tablespoons unsalted butter
1 pound confectioner’s sugar, sifted
4-6 tablespoons heavy cream
2 teaspoons vanilla extract
2-4 tablespoons caramel syrup
Kosher or sea salt to taste

1.Cook butter until brown. Pour through a fine meshed sieve into a heatproof bowl, set aside to cool.

2.Pour cooled brown butter into mixer bowl.

3.In a stand mixer fitted with a paddle or whisk attachment, add confectioner's sugar a little at a time. When mixture looks too chunky to take any more, add a bit of cream and or caramel syrup. Repeat until mixture looks smooth and all confectioner's sugar has been incorporated. Add salt to taste.

Note: Caramelized butter frosting will keep in fridge for up to a month.
To smooth out from cold, microwave a bit, then mix with paddle attachment until smooth and light


And Voila!
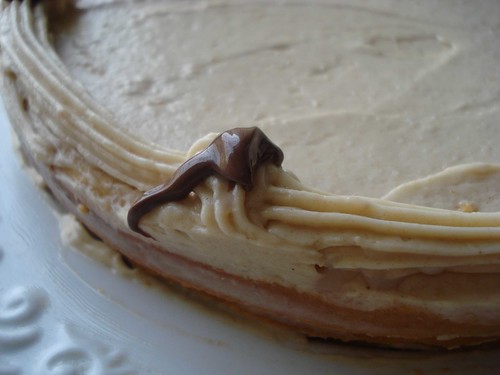
q-DSC02070
Yes that is nutella..

I kept the frosting casual and used it quite sparingly. The cake is quite sweet.
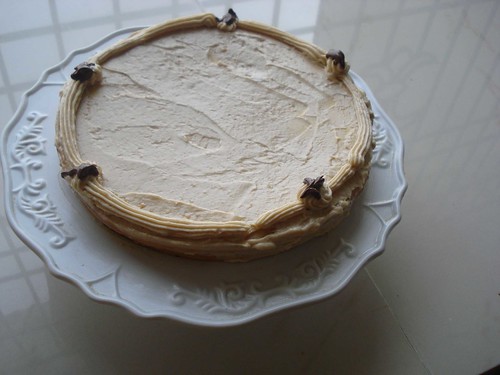
q-DSC02064

The second time I made it, I used Splenda and did not ice the cake on top just sandwiched the cake with some butter-caramel frosting made with Splenda. It still tasted great.
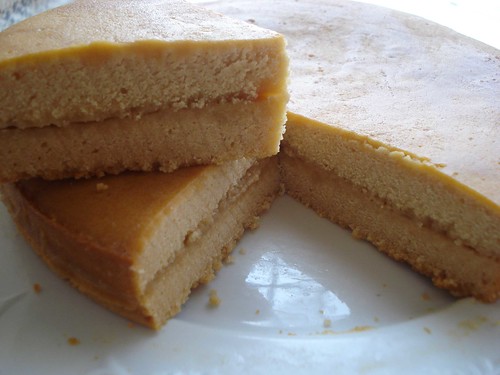
q-DSC02039


So summing up: my experience as a daring baker has been awesome. I want to thanks Lis and Ivonne for letting me be a part of this wonderful community. I'm eager to know whats up next month :D